You’ve just realized your new laptop was supposed to arrive three days ago, your blender’s warranty expired last month without you noticing, and that customer support ticket you opened two weeks ago? Still unresolved because you forgot to follow up. Sound familiar? For most online shoppers, managing multiple orders across different retailers feels like juggling blindfolded — things inevitably slip through the cracks.
The good news is that you already have a powerful solution sitting on your phone or computer: a digital calendar. Far beyond scheduling meetings or birthdays, a digital calendar can serve as your personal command center for every purchase you make online. From tracking delivery windows and storing warranty expiration dates to logging customer support interactions, it brings everything into one organized, accessible place.
This article walks you through exactly how to set up and use a digital calendar to take full control of your online shopping experience. Whether you’re a casual buyer or someone managing dozens of monthly orders, the practical steps ahead will help you eliminate delivery surprises, protect your purchases, and resolve issues faster — all without paying for a single specialized app.
Beyond Dates: Why a Digital Calendar is Essential for Online Shoppers
Most online shoppers have experienced at least one of these frustrations: a package that quietly missed its delivery window while you were waiting, a warranty that expired just weeks before a product broke down, or a customer support ticket that fell off your radar because life got busy. These aren’t signs of carelessness — they’re symptoms of a system that was never designed to manage the complexity of modern online shopping. The average consumer now juggles orders from multiple retailers, each with its own tracking portal, timeline, and return policy. Without a centralized way to manage all of this, things slip.
A digital calendar reframes this problem entirely. Instead of relying on scattered confirmation emails buried in your inbox or mental notes that fade within days, it gives you a single, structured space where every purchase-related detail lives. Think of it as your personal command center: one place to see what’s arriving this week, which warranties are nearing expiration, and which support tickets need a follow-up call.
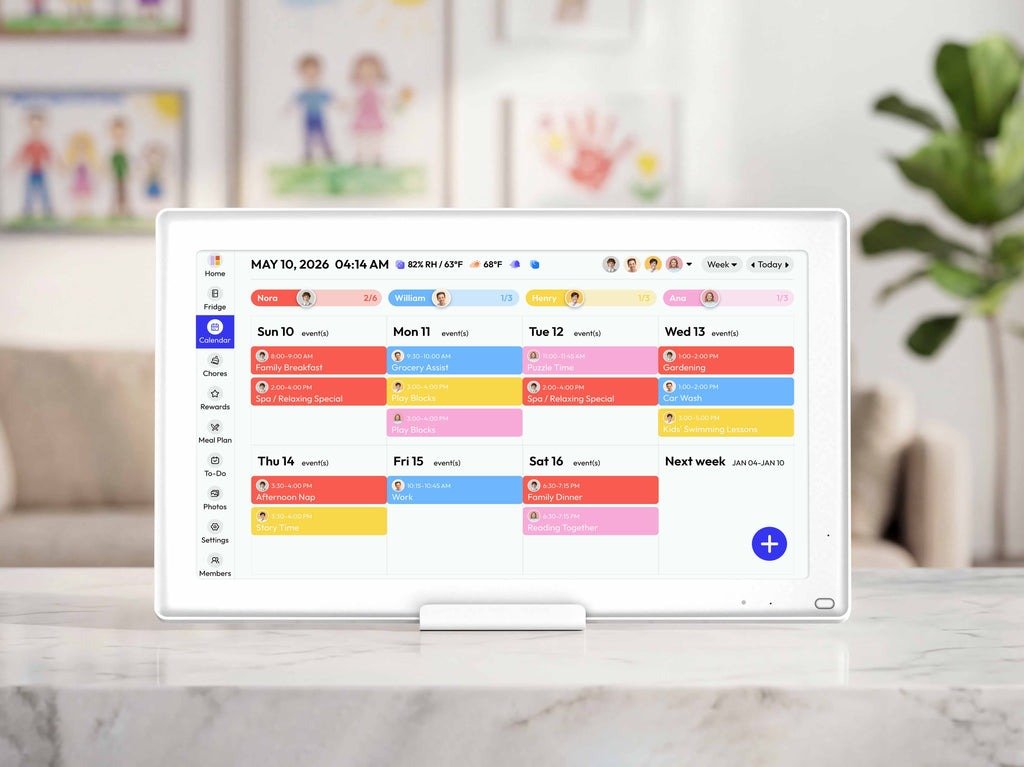
The benefits go beyond simple organization. A well-maintained shopping calendar saves real time — no more digging through email threads to find a tracking number or guessing when a return window closes. It also reduces the low-grade stress that comes from feeling like you’re always one forgotten order away from a problem. For shoppers who value convenient tracking and simplified management, a digital calendar doesn’t just help — it transforms how you shop online. Platforms like Everblog have recognized this shift, building digital calendar tools specifically designed around the kinds of structured, detail-rich entries that shopping management demands.
Step 1: Foundation – Creating Your Free Digital Calendar Account
Before you can bring order to your online shopping chaos, you need to pick the right digital calendar and get it set up properly. The three most widely used free options are Google Calendar, Apple Calendar, and Microsoft Outlook Calendar. Each works well for shopping management, but they differ in meaningful ways depending on how you shop and what devices you use.
Comparing Top Free Calendar Tools for Order Management
Google Calendar is the strongest all-around choice for most online shoppers. It syncs seamlessly across Android, iOS, and any web browser, supports color-coded calendars, allows rich event descriptions with clickable links, and integrates with Gmail to automatically detect shipping information from confirmation emails. Apple Calendar is the better pick if you’re deeply embedded in the Apple ecosystem — it syncs instantly across iPhone, iPad, and Mac, and pairs naturally with Siri reminders. Microsoft Outlook Calendar suits shoppers who already use Outlook for email, since order confirmations and calendar entries stay within one application.
To get started with Google Calendar — the recommended option — go to calendar.google.com and sign in with any Google account. If you don’t have one, creating a free account takes under two minutes. Once inside, click the “+” icon next to “Other calendars” in the left sidebar and select “Create new calendar.” Name it something specific like “Shopping Orders” to keep it separate from your personal events. Set your default time zone and enable notifications in Settings under “Event settings” so reminders actually reach you. On mobile, download the Google Calendar app and sign in with the same account — your new shopping calendar will appear immediately, fully synced and ready to use across every device.
Step 2: Centralized Control – How to Track Orders with Your Digital Calendar
Once your calendar is set up, the real work begins: turning it into a reliable tracking system for every order you place. The goal is to log each purchase the moment it happens, before the confirmation email gets buried and the details fade from memory. For each new order, create a calendar event on the expected delivery date and include four key details in the event description: the retailer name, item purchased, order number, and a direct link to the tracking page. This takes less than two minutes per order and pays off every time you need to check a status without hunting through your inbox.
Color-coding is one of the most practical features you can use here. Assign a distinct color to each major retailer or shopping category — blue for electronics, green for clothing, red for marketplace purchases like eBay or Etsy. At a glance, your calendar will show you exactly what’s coming and from where, without needing to open a single event. When orders span multiple retailers with different delivery windows, this visual separation prevents confusion instantly.
Reminders are your safety net. Set a first alert 24 hours before the expected delivery date so you know to watch for the package, and a second alert on the delivery date itself. If the item doesn’t arrive, that second reminder becomes your cue to check the tracking link and act — not a week later when the return window may have closed.
Practical Solution: A Step-by-Step System for Logging Every Purchase
Here’s the exact process to follow after placing any online order. First, open your shopping calendar and create an all-day event on the estimated delivery date — title it with the item name and retailer, such as “Headphones – Amazon.” In the event notes, paste the order confirmation number, the tracking number once available, the carrier name, and the direct tracking URL. Add a second all-day event on the final return deadline, titled “Return window closes – [item],” so that date is never invisible. If a delivery gets delayed, simply drag the event to the new estimated date and update the tracking link in the notes. For orders that require follow-up — a seller who hasn’t shipped yet, or a package stuck in transit — set a specific timed reminder three days out that reads “Check shipping status.” This simple loop of log, remind, and update ensures no order quietly disappears from your awareness, and every piece of information you need is exactly one tap away.
Step 3: Proactive Protection – Manage Warranty Details Effortlessly
A warranty is only valuable if you actually use it before it expires. The problem is that most people file the paperwork, forget about it, and only remember the warranty existed when the product breaks down a month too late. A digital calendar eliminates this entirely by turning warranty management from a passive hope into an active, automated system. The moment you receive a new product, spend two minutes adding its warranty details to your shopping calendar — and that brief effort can save you hundreds of dollars down the line.
For each warranted purchase, create two calendar events: one on the warranty start date and one 30 days before the expiration date. The early alert is the critical one. It gives you enough time to test the product thoroughly, identify any developing issues, and file a claim before the window closes. In the event notes, include the purchase receipt, the manufacturer’s support phone number or website, the product’s serial number, and the retailer’s return or exchange policy. Everything you’d need to make a warranty claim is then in one place, accessible from any device in seconds.
Solution in Action: Setting Up Warranty Expiration Alerts
The process differs slightly depending on the product type. For electronics — laptops, phones, televisions — warranties typically run one to two years, making that 30-day advance alert especially important since repairs in this category are costly. Create an all-day event titled “Warranty expiring soon – [product name]” and set a notification for 9 AM that day. For appliances like washing machines or refrigerators, which often carry longer warranties of three to five years, add a recurring annual reminder to check the product’s condition, not just a single end-date alert. To illustrate: you buy a blender in March with a one-year warranty. You create a calendar event on February 1st of the following year titled “Blender warranty expires March 15 – test and check.” When that reminder fires, you run the blender through its paces, catch the grinding noise you’d been ignoring, and submit a warranty claim with two weeks to spare — instead of discovering the problem in April.
Step 4: Full Visibility – Integrating Shipping Information and Customer Support
Tracking an order doesn’t end when the package arrives — especially when something goes wrong. Whether you’re dealing with a damaged item, a missing shipment, or a refund that’s taking longer than promised, customer support interactions generate their own set of deadlines and follow-up requirements. A digital calendar handles this layer of shopping management just as effectively as it handles deliveries and warranties, giving you a unified view of every open issue alongside every incoming order.
For shipping details, go beyond pasting the tracking link into your delivery event. Include the carrier name, the shipping method, and any specific delivery instructions you provided. When a package is handed off between carriers — common with international orders — note each carrier separately so you know exactly who to contact if something goes wrong in transit. This detail costs you thirty seconds to add and can save a frustrating hour of back-and-forth when a package stalls.
For customer support, create a dedicated calendar event the moment you open a ticket or make a support call. Title it clearly — “Support ticket – [retailer] – [issue]” — and log the ticket number, the representative’s name if given, a one-line summary of what was discussed, and the promised resolution date in the event notes. This creates an instant support history you can reference without searching through email threads.
Enhancing Support Efficiency with Calendar Notes and Reminders
The most important step after logging a support interaction is setting a follow-up reminder before the retailer’s promised response window closes. If a support agent tells you to expect a resolution within five business days, set a calendar reminder for day four — not day six. That one-day buffer gives you time to follow up proactively rather than reactively, which consistently leads to faster resolutions. In the reminder note, include the original ticket number and a short script of what to say: “Following up on ticket #XXXX regarding [issue] — resolution was expected by [date].” When you call or write back with that level of specificity, support teams respond more efficiently. If an issue escalates to a supervisor or a formal dispute, create a new event documenting that escalation with its own follow-up date. Over time, this running log of support history becomes a powerful record — particularly useful for chargebacks or consumer protection claims where documented timelines matter significantly.
Start Organizing Your Purchases with a Digital Calendar Today
Managing online orders doesn’t have to feel like a second job. As this guide has shown, a digital calendar — something you already have access to for free — can handle everything from delivery tracking and warranty alerts to customer support follow-ups, all within a single, organized system. The steps outlined here aren’t theoretical; they’re practical habits that compound over time, saving you real money on expired warranties, real time lost to inbox archaeology, and real frustration from unresolved support tickets.
The best moment to start is immediately after your next purchase. Open your calendar, create a shopping-specific calendar, and log that order with its delivery date, tracking link, and return window. Add the warranty expiration alert. Set the follow-up reminder. Each step takes minutes, but the cumulative effect — a clear, reliable view of every active purchase — is transformative. You’ll stop reacting to shopping problems and start staying ahead of them.
Online retail will only grow more complex, with more retailers, more delivery services, and more moving pieces to track. The shoppers who navigate it with confidence won’t necessarily have better luck — they’ll have better systems. A well-maintained digital calendar is that system, and it’s already waiting for you to use it. Whether you build that system inside a general-purpose tool or a dedicated platform like Everblog, the habits you develop around logging, alerting, and following up are what ultimately keep your purchases organized and protected.