Every Indian kitchen has an unforgettable, surprising story of its evolution. Gone are those days when we used to cook with flame and matchsticks, and it has been replaced with the switch and a one-tap click.
Therefore, the introduction of an automatic three-burner stove in the kitchen has transformed the entire environment of the kitchen. Advanced features like auto-ignition, shut-off valves, and smart controls in the automatic gas stove bring convenience, precision in cooking, and also save time.
But to take full advantage, you should install it properly before doing anything. A wrong installation can give further troubles like overheating, fire incidents, bad odor, and gas leaks.
This guide walks you through what to check, how to install step by step, and safety best practices. Let’s begin.
What Are the Advantages of an Automatic Three-Burner Stove?
Before diving into the key topic, let me elaborate on the benefits of an automatic three-burner stove:
● Enhance safety: Safety features like cut-offs or flame detection save your life.
● Ease to use & precision: Flame levels can be stabilized through auto-ignition, thermostat control, or sensors.
● Efficiency & savings: reduced gas wastage and more controlled combustion.
● Cleaner kitchen: Less soot/spillage because the flame is regulated.
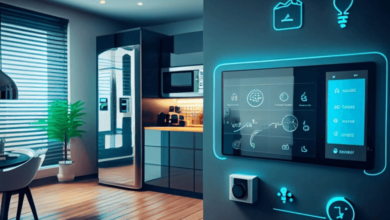
● Modern aesthetic and integration: They often go along with smart kitchens.
These are some of the main benefits; due to this reason, it is gaining popularity in the modern kitchen. Only one thing which may seem higher is the automatic gas chulha price, but this price is also justified by the features available.
Which automatic gas stove would you opt for?
Before installation, choosing the right model for your kitchen is paramount. Here’s what you need to look into:
● Compatibility of gas type: LPG, PNG, or dual-fuel; make sure the stove is compatible with your pipeline or cylinder.
● Safety features to consider include flame failure safety devices, auto shut-off, and sensor feedback.
● Capacity & burner number: 2, 3, 4 burners depending on the cooking load.
● Material & durability – stainless steel, tempered glass tops, quality brass burners.
● Warranty & after-sales support: A trustworthy brand is important for further servicing.
● Compare the prices across brands for automatic stoves to see if you are paying for actual features or just branding.
Once you’ve selected the model, save the manual and parts kit. Now, let’s proceed to installation.
How to Install an Automatic Gas Stove Safely and Efficiently?
Installation procedure below, we are sharing the step-by-step installation procedure to enjoy the cooking experience every day.
Step 1: Area Preparation and Tools
Ventilation: Your kitchen should have a window or an exhaust so gases can pass through it with ease.
Clearance: There should be proper space, at least 10 cm from the back wall, 5 cm from the sides.
Tools & supplies: adjustable wrench; pipe sealant or PTFE gas tape; gas hose, certified; flexible connector; mounting screws or brackets; soapy water spray to detect leaks; a gas regulator
Step 2: Shut Off Gas Supply
Replace the old one properly, start by turning off the main line of gas before placing the new one. Remove any residual gas by opening a tap for a few seconds.
Step 3: Position the Stove and Connect the Gas Line
Place the automatic stove properly in the correct position.
Attach the regulator to the stove inlet with the certified hose or connector.
Once done, tighten the connection with utmost care.
Step-4 Test for Leaks
Mix water and dish soap in a spray that becomes foamy.
Spray liberally over joints, hoses and connectors.
Check for bubbles: if small bubbles can be seen, then that could be a sign of a leak.
If there are bubbles, tighten or re-seal and test again.
Never test for leaks with flame
Step 5: Electrical Connection-if applicable
Most modern automatic gas stoves need a little power for sensors, ignition, or control modules:
Connect to a dedicated 220V socket, or according to the model manual.
Use proper grounding to prevent any electrical hazards.
Route wiring so it is clear of heat, water or cooking paths.
Step 6: Initial Ignition and Calibration
Turn the gas supply on slowly.
Ignite using the control knob or push-start. Let the flame stabilize.
On models with auto-sensing or flame-detect circuits run a calibration mode if one is available (your manual will advise).
If turned off, observe if the flame extinguishes automatically-that confirms safety circuits functioning.
Step 7: Final Inspection & Safety Check
Respray all joints and verify no leaks.
Verify that all the knobs or controls operate consistently.
Allow the stove to run for 10–15 minutes and observe for any odor or other unusual activity.
Keep a fire extinguisher or gas detector near, at least for the first week.
See also: Cozy Winter Home Updates: Australian Homeware Trends
Safety Precautions You Must Remember During Installation
● Proper safety during the time of installation should be ensured for a better installation experience
● Never install in a closed room.
● No smoking during installation.
● Wear appropriate protective gloves and goggles when handling tools.
● Follow the manufacturer’s manual.
● Do not overtighten connectors
● Use only certified hoses and regulators rated for use with gases.
● Check the hoses from time to time, and the whole gas stove.
Why Professional Assistance Can Matter
It is no less than a challenge to install an automatic gas stove for the first time. Therefore, it would be of vital importance to install the automatic gas stove under the supervision of professional experts because they will install it efficiently without wasting time, money, and effort.
Expert installers ensure that:
● Complying with local safety standards and codes
● Proper calibration of sensors and valves
● Peace of mind, maintenance assured
● Long-term protection of the investment in your automatic gas chulha price
Conclusion:
An automatic gas stove represents a convenient, safe, and effective kitchen tool in the modern kitchen. However, the safe and efficient installation of an automatic three-gas stove requires one to pay due care in planning for the gas and electrical systems. If correctly installed, it will bring into reality the best experience, ease of use, control, and peace of mind.
The only problem that could arise might be the price of the auto gas chulha, but everything else seems to offset that as a premium benefit.
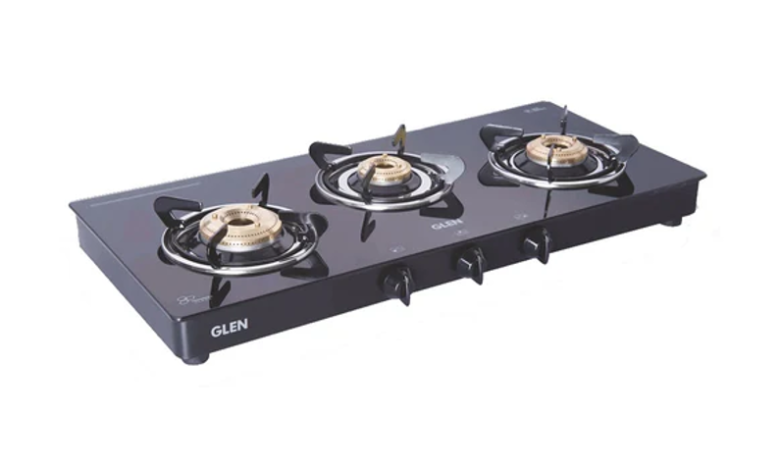
Need to know about the best automatic gas stoves with strong support, intelligent safety features, and superior craftsmanship? Then Glen Appliances is your go-to platform where you can browse their range, compare models, and reach out for assistance. Your next kitchen upgrade is just a smart choice away. Install it correctly, cook safely, and enjoy the journey.