There’s nothing more disheartening than finishing hours of tufting work, only to step back and see an uneven surface riddled with puckers, sagging edges, or unstable loops. You’ve invested time, expensive yarn, and creative energy—yet the final piece looks amateurish. More often than not, these frustrating outcomes trace back to a single culprit: errors made during your tufting frame setup.
The tufting frame is the literal foundation of every rug, wall hanging, or textile piece you create. Yet it’s surprisingly easy to overlook critical details during assembly, fabric mounting, and preparation. Small missteps—like inadequate tension, poor frame alignment, or incompatible materials—compound quickly, sabotaging even the most skilled tufting technique.
This guide cuts through the guesswork by identifying the four most common, project-killing frame mistakes and delivering clear, actionable solutions to correct them. You’ll learn how to choose the right frame type, properly prepare and attach fabric, select compatible adhesives for finishing, and ensure rock-solid stability throughout your workflow.
For small business owners, tufting studios, and entrepreneurs working with tight budgets and tighter deadlines, mastering these fundamentals isn’t optional—it’s the difference between profitable, professional output and costly do-overs that drain both time and materials.
Mistake #1: Choosing the Wrong Frame Type for Your Project
The frame you select sets the tone for your entire workflow, yet many tufters default to whatever’s cheapest or most readily available without considering how it will perform under real working conditions. Traditional nail-based frames have been the standard for decades—they’re simple to build and widely documented in DIY tutorials. You stretch fabric over a wooden rectangle and secure it with nails or staples around the perimeter. While this approach works for hobbyists tackling occasional projects, it introduces serious limitations for anyone running a business or managing multiple commissions. Every time you finish a piece, you must pry out nails or staples, risking fabric tears and frame damage. The process is time-consuming, and repeated use weakens the wood around nail holes, shortening the frame’s lifespan.
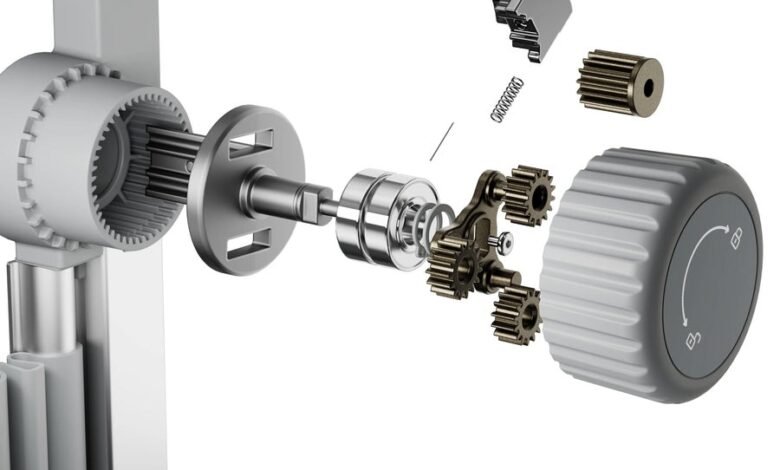
Modern nail-free tufting frame eliminate these pain points by using adjustable clamps, grippers, or roller systems that secure fabric without puncturing it. You can mount and remove fabric in minutes rather than half an hour, and the same frame handles projects of varying sizes by adjusting tension mechanisms. For small business owners billing by the project, this time savings translates directly to increased capacity and profitability. Nail-free systems also preserve your primary backing fabric, allowing you to reuse scraps for samples or smaller pieces—a meaningful cost reduction when quality monk’s cloth isn’t cheap. When evaluating frames, prioritize adjustability for different project dimensions, portability if you work in multiple locations or attend markets, and construction quality that will endure daily use. A higher upfront investment in a robust nail-free system pays for itself within a dozen projects through saved labor hours and reduced material waste.
Mistake #2: Incorrect Fabric Preparation and Attachment
The most pristine frame becomes useless if your primary backing fabric isn’t properly prepared and mounted. Many tufters rush this stage, stretching fabric by hand and eyeballing tension, only to discover midway through a project that wrinkles have formed or entire sections have gone slack. The result is uneven pile height, difficulty penetrating the backing consistently, and a finished piece that looks warped or puckered even after gluing and trimming. This mistake is especially costly for business owners, as fixing it often means scrapping hours of work and starting over with fresh materials.
Selecting the Right Fabric and Fabric Rod
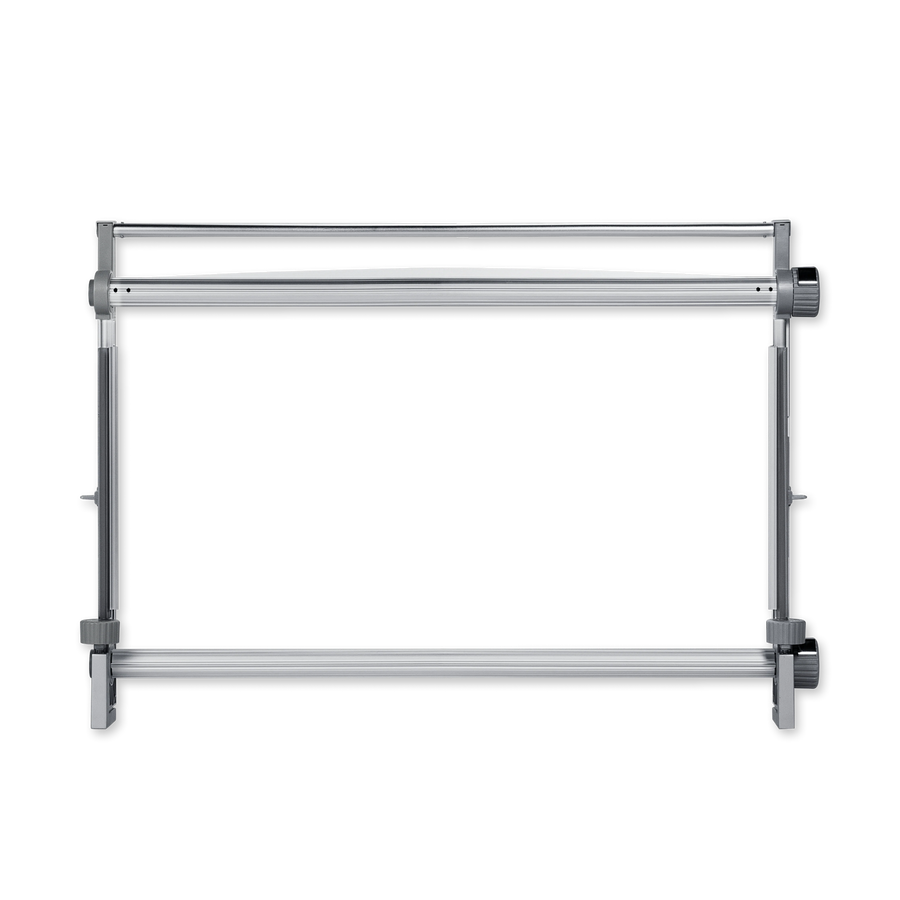
Start by choosing monk’s cloth appropriate for your tufting gun and yarn weight—primary tufting cloth works for most cut and loop pile projects, while finer weaves suit punch needle work. The fabric must be free of wrinkles before mounting, so iron or steam it if necessary. A fabric rod is essential for achieving professional results with nail-free frames. This cylindrical bar allows you to roll the backing fabric onto the frame’s tensioning system smoothly and evenly, preventing the bunching and uneven pull that occurs when fabric is simply clamped or gripped at random points. The rod distributes tension across the entire width, ensuring every square inch of your working surface maintains consistent tautness.
The Step-by-Step Fabric Loading Process
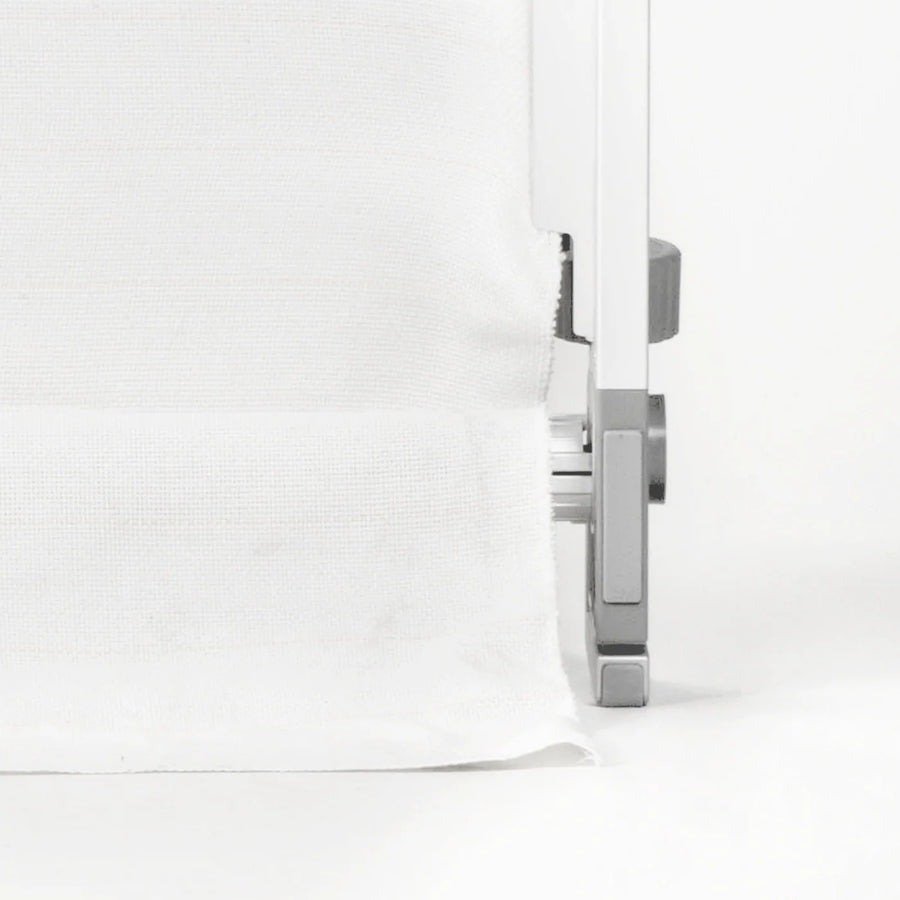
Begin by laying your fabric flat and aligning one edge with the fabric rod, securing it with clips or the frame’s built-in fasteners. Roll the rod forward, wrapping fabric around it until you’ve covered enough length for your project plus six inches of margin on all sides. Mount the rod into the frame’s top brackets, then pull the opposite edge of fabric down toward the bottom tensioning mechanism, checking that the weave runs perfectly vertical and horizontal—use a carpenter’s square if needed. Engage the bottom clamp or gripper gradually, working from the center outward to avoid creating slack pockets at the edges. Walk around the frame and inspect for any ripples or loose areas, adjusting tension incrementally until the fabric produces a drum-tight surface that doesn’t deflect when you press it. Secure the sides last, maintaining equal pull across the width. This methodical approach takes an extra ten minutes but eliminates the single biggest cause of mid-project failures.
Mistake #3: Ignoring Adhesive Compatibility in Finishing
You’ve completed your tufting, trimmed the pile to perfection, and flipped the piece to apply backing—only to find the adhesive won’t bond properly, leaves sticky residue bleeding through to the face, or causes the secondary backing to peel away within days. This finishing failure stems from a fundamental misunderstanding: not all adhesives work with all yarn types, backing materials, or environmental conditions. Many tufters grab whatever rug adhesive is cheapest or most accessible, assuming it’s universally compatible. The reality is that latex-based adhesives behave differently than acrylic formulas, and each has specific applications where it excels or fails catastrophically. Using a water-based latex on synthetic yarn in a high-humidity environment, for example, can prevent proper curing, leaving your finished rug tacky indefinitely. Conversely, aggressive solvent-based adhesives can stiffen natural fibers excessively or damage delicate backings.
Before committing to any adhesive, conduct a compatibility test on a small sample. Cut a six-inch square of your tufted work, apply your chosen adhesive to the back, attach a scrap of secondary backing fabric, and let it cure for the full recommended time—usually 24 to 48 hours. Then attempt to peel the backing away and flex the sample repeatedly. Proper adhesion means the backing resists separation and the tufted loops remain secure. If the backing lifts easily or adhesive remains tacky, switch formulas. For mixed-fiber projects, latex adhesives generally offer the best balance of flexibility and hold. Felt-bond adhesives work well for adding felt backing to wall hangings where rigidity isn’t a concern. Apply adhesive in thin, even coats using a notched trowel, working in sections to prevent premature drying. Press the secondary backing firmly into place, smoothing from center to edges to eliminate air pockets, then weight the piece flat during curing. This disciplined approach to adhesive compatibility ensures your finished work survives handling, shipping, and years of use without delaminating—a non-negotiable standard for any business selling to customers who expect professional durability.
Mistake #4: Compromising on Frame Stability and Alignment
A frame that wobbles, racks side to side, or has corners that aren’t perfectly square creates a cascade of problems that undermine even flawless fabric tension and adhesive application. When your frame shifts during tufting, the gun penetrates at inconsistent angles, producing uneven pile heights across the piece. Sections tufted while the frame leaned one direction won’t match areas completed after it shifted another way. The instability also makes it physically exhausting to work, as you’re constantly fighting movement instead of focusing on design execution. For tufting studios managing multiple projects daily, an unstable frame slows production and increases the likelihood of costly mistakes that require rework.
Before starting any project, perform a stability audit. Check every joint connection—bolts should be hand-tight plus a quarter turn with a wrench, and wood joints should show no gaps or play when you apply lateral pressure. Use a carpenter’s square to verify all four corners form true 90-degree angles; even two degrees of misalignment will cause fabric to pull unevenly and distort your design grid. Test overall rigidity by pressing firmly on opposite corners—the frame shouldn’t flex or twist. If you’re working with a DIY frame, add corner braces or gussets at weak points, and consider cross-bracing the back for larger frames exceeding four feet in any dimension. For those purchasing ready-made solutions, invest in professionally engineered tufting kits designed for commercial use. Brands like Clawlab have developed frame systems that use reinforced joinery and precision-cut components to maintain alignment through thousands of hours of use, eliminating stability as a variable in your quality equation.
Master Your Frame Setup for Professional Results
The four mistakes covered here—selecting an incompatible frame type, rushing fabric preparation and attachment, ignoring adhesive compatibility, and tolerating poor stability—account for the vast majority of preventable failures in tufting projects. Each error compounds the others: a wobbly frame makes proper fabric tensioning nearly impossible, while incorrect adhesive application can ruin an otherwise perfectly tufted piece in the final stage. Mastering your frame setup isn’t a preliminary step you can shortcut; it’s the non-negotiable foundation that determines whether your technical skills and creative vision translate into professional-quality finished work.
Take time this week to audit your current process against these four categories. Inspect your frame for stability issues, evaluate whether your fabric attachment method consistently delivers drum-tight surfaces, test your adhesive on sample scraps before committing to full pieces, and honestly assess whether your frame type matches your project volume and business goals. Small adjustments now—switching to a nail-free system, investing in a proper fabric rod, or reinforcing weak joints—prevent hours of frustration and material waste down the line.
The tufters who build sustainable businesses aren’t necessarily the most artistically gifted; they’re the ones who’ve systematized their fundamentals to deliver consistent, professional results every single time. By eliminating these common frame mistakes, you’ll experience fewer mid-project crises, reduce costly do-overs, and build the reputation for quality that turns one-time customers into repeat clients and referrals.